
Cart
0
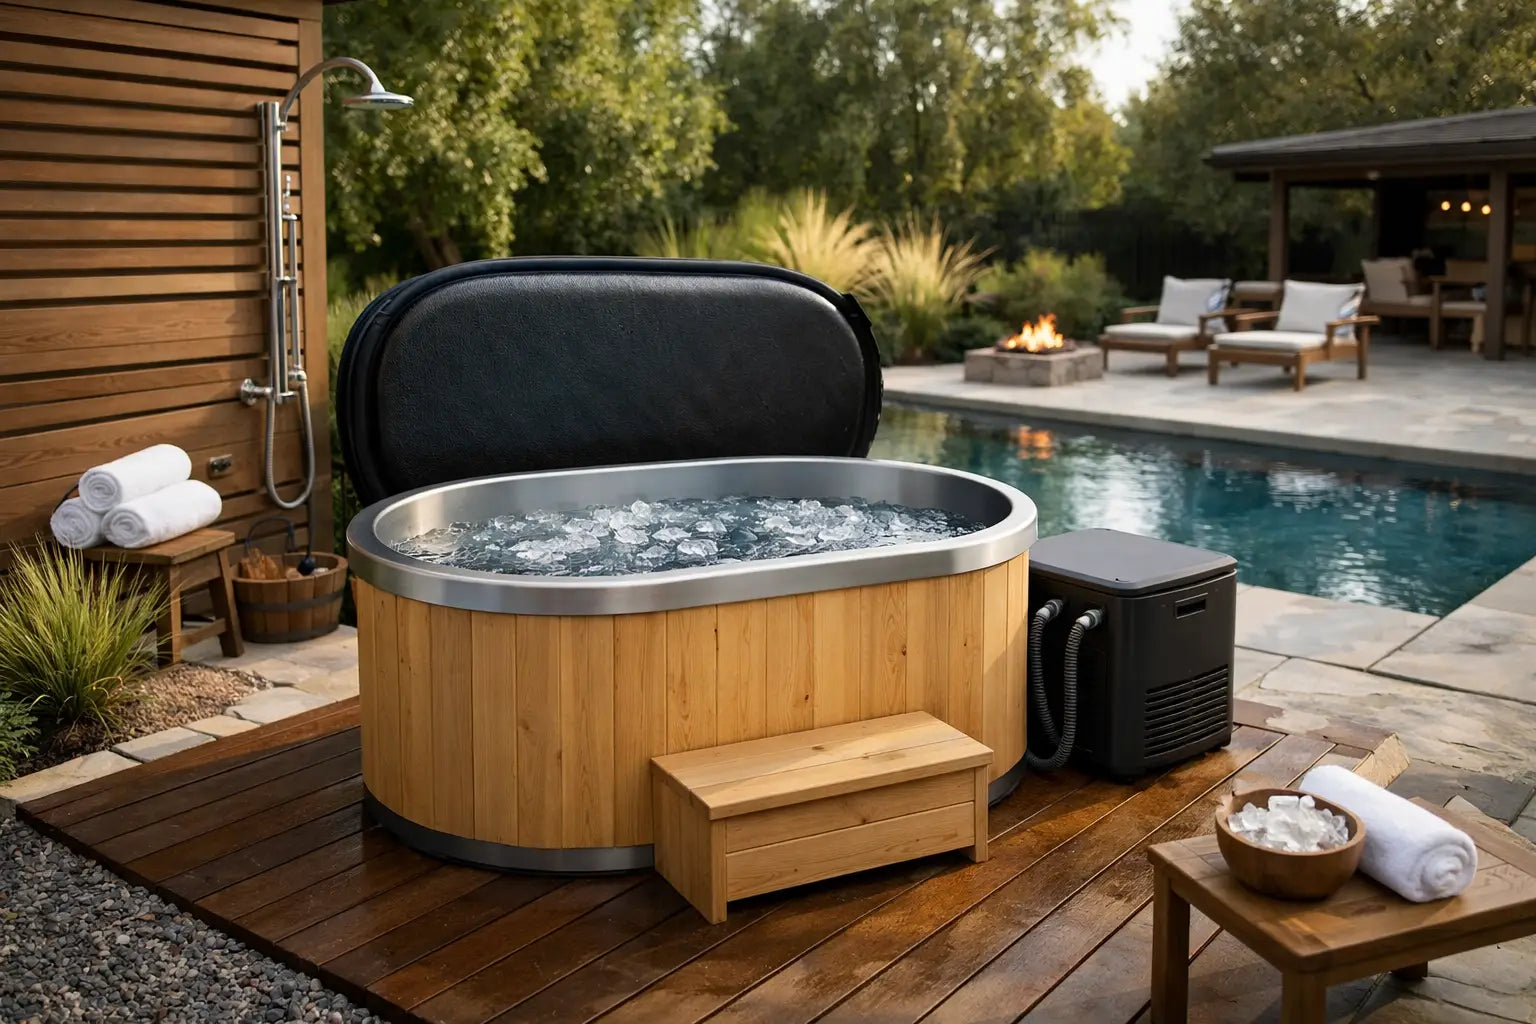
The best cold plunge installations feel almost inevitable: a quiet path from the sauna or home, a sheltered place to set down a robe, and water waiting beneath open sky. Learning how to install a cold plunge begins well before delivery day. A thoughtful plan protects your investment, simplifies maintenance, and turns a wellness purchase into a ritual you will actually return to.
For a compact portable unit, installation may take an afternoon. For a larger cedar plunge, built-in pool, or hospitality setting, the site work can take longer and may involve licensed professionals. The right approach depends on the model, your climate, and how integrated you want the experience to feel within the landscape.
Start With the Cold Plunge Experience You Want
Before choosing a location, consider how you intend to use the plunge. A morning reset near the house calls for convenience. A contrast-therapy circuit beside an outdoor sauna calls for privacy, durable pathways, and a place to transition comfortably between heat and cold. At a vacation rental or glamping property, guest circulation and clear safety boundaries deserve equal attention.
Think through the small moments around the water. Where will towels stay dry? Is there a bench for changing shoes? Will the area have enough light for an evening session without losing its sense of calm? These decisions shape whether the installation feels like a piece of equipment placed outdoors or a true personal retreat.
A cold plunge can be installed on a patio, deck, gravel base, concrete pad, or another engineered surface rated for its filled weight. Water is heavy: each gallon weighs roughly 8.3 pounds, before accounting for the vessel and the person using it. Always confirm the unit’s specifications and, for elevated decks, ask a qualified contractor or structural engineer to assess the load.
Choose a Site That Supports Daily Use
A level, stable setting is non-negotiable. Even a slight slope can strain the shell, affect water level, and create problems with circulation or drainage. Avoid placing a plunge directly on soil, grass, or loosely packed gravel. These surfaces shift with weather and can hold moisture beneath the unit.
A concrete pad is often the simplest long-term foundation for a heavy, self-contained plunge. It should be level, fully cured, and sized to support the entire base. Pavers can also work when installed over a properly compacted base. A deck can be beautiful and convenient, but it must be designed for the substantial live load of a filled cold plunge.
Placement also affects water temperature and upkeep. Partial shade can reduce heat gain and make summer cooling more efficient, while a completely enclosed or heavily shaded corner may trap leaves, moisture, and debris. Keep enough clearance around the equipment panel for service access, as specified by the manufacturer. Do not tuck pumps, chillers, or vents into a tight alcove simply to keep them out of sight. Equipment needs airflow to operate well.
Choose a location with a clear route from the driveway or gate. Measure passageways, steps, turns, and gates before delivery. Many premium units are substantial, and an access plan made early is far more graceful than removing a fence panel at the last minute.
Plan Power Before Delivery Day
Most temperature-controlled cold plunges need a dedicated electrical circuit. The exact voltage, amperage, and outlet requirements vary by model, so rely on the manufacturer’s installation manual rather than assumptions. A plug-and-play unit may use a standard grounded outlet, while a larger chiller often requires 240-volt service.
Hire a licensed electrician to install the correct weather-rated, GFCI-protected connection and to verify that your panel has adequate capacity. This is particularly important when the cold plunge shares an outdoor wellness zone with a sauna, lighting, heaters, or a studio space. Electrical work near water is not the place for extension cords or improvised connections.
Plan the equipment location at the same time. Some units contain their chiller within the cabinet, while others use a separate external chiller. A separate system may allow more flexibility in the finished look, but it needs a protected, ventilated place and properly routed plumbing lines. Keep access panels available for seasonal service, filter changes, and troubleshooting.
Design Drainage With Care
Eventually, every cold plunge needs to be drained. Where that water goes matters.
The simplest option is often a nearby approved drain connection, but local rules differ. In some areas, draining treated water onto a lawn, into a storm drain, or across a neighboring property is prohibited. If you use sanitizers or treatment chemicals, follow local wastewater guidance and the product instructions. A plumber can help identify the appropriate connection for a more permanent installation.
Even when your drainage method is straightforward, grade the surrounding area so rainwater moves away from the plunge, foundation, and equipment. A shallow swale, permeable pavers, or carefully placed gravel can help manage runoff without compromising the clean, intentional look of the space.
A hose connection is also useful for filling, topping off, and rinsing the surrounding hardscape. In regions with freezing winters, plan how you will disconnect hoses, drain exposed lines, and winterize the unit if it will not remain operating year-round.
Prepare the Base and Set the Unit
Once the foundation, power, and drainage are ready, the physical installation becomes much more straightforward. Clear the site of debris, sweep the pad, and check level again in several directions. If the manufacturer provides a protective mat, vibration pads, or recommended underlayment, install it exactly as directed.
Coordinate delivery with the access plan you made earlier. Some cold plunges can be carried into place by a crew; others may require a forklift, pallet jack, or crane. Keep children, pets, and unnecessary foot traffic away during positioning. Never attempt to slide a filled unit, and do not lift it by plumbing connections, cabinet trim, or equipment handles.
After the plunge is set, inspect it before filling. Confirm that drain valves are closed, unions and fittings are secure, filters are seated, and equipment access is unobstructed. Connect the electrical service only according to the manufacturer’s sequence. Some systems should be filled completely before power is switched on, because running a pump or heater dry can cause damage.
Fill, Balance, and Test the Water
Fill the plunge with a clean water source to the recommended line. As it fills, inspect the cabinet and fittings for drips. Once the water reaches the proper level, start the circulation system and let it run long enough to confirm consistent flow.
Water care is what keeps a cold plunge inviting rather than demanding. Test the water before use and establish the treatment routine recommended for your system. Depending on the model, this may include filtration, sanitizer, pH adjustment, periodic oxidation, and scheduled water changes. Cold water slows some microbial growth, but it does not eliminate the need for sanitation.
Set the temperature gradually and allow the system time to stabilize. Many people enjoy water in the high 40s to mid-50s Fahrenheit, though preference, experience, and health considerations vary. Colder is not automatically better. A temperature that feels challenging but controlled is more likely to support a consistent practice.
Run a final check before the first session: verify that the cover fits properly, the area is dry and slip-resistant, and the equipment is operating quietly. Keep a non-slip path, towel storage, and a comfortable place to warm up nearby. A cover is especially valuable for preserving water quality, reducing heat gain, and keeping the view clean between uses.
Build Safety Into the Ritual
A cold plunge should feel restorative, never performative. Consult a healthcare professional before beginning cold exposure if you have cardiovascular concerns, high blood pressure, are pregnant, or have a condition affected by sudden cold. Avoid plunging alone if you are new to the practice, and never use a cold plunge after alcohol or recreational drug use.
For homes with children or visiting guests, use a secure cover and establish clear rules. Keep the area well lit, address slippery surfaces promptly, and make sure everyone knows how to exit the plunge easily. At hospitality properties, durable signage and a simple operating guide help guests enjoy the amenity with more confidence.
The most successful installation is not necessarily the largest or coldest. It is the one that invites you outside, makes care feel manageable, and gives your property a lasting sense of retreat. With the foundation, utilities, and surrounding details handled with intention, your cold plunge can become a quiet reason to spend more time relaxing in nature.

