
Cart
0
September 10, 2026
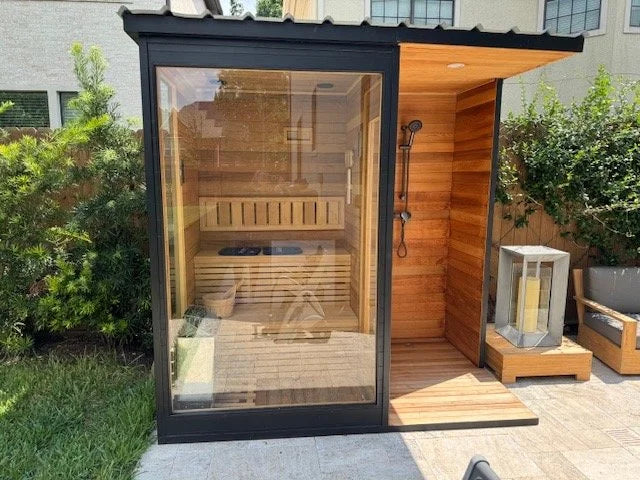
A panel sauna can transform a quiet corner of a property into a place for unhurried warmth, clear air, and a restorative ritual outdoors. Knowing how to assemble sauna panels is less about carpentry bravado than careful preparation: a level foundation, thoughtful sequencing, and respect for the small details that keep heat where it belongs.
Most premium modular saunas are designed to go together in a defined order, but every manufacturer has its own locking system, wall layout, roof detail, and electrical requirements. Treat the included manual as the authority for your specific model. The guidance below will help you prepare well, understand the process, and recognize when a professional installer is the wisest choice.
Start with the site, not the first panel
The most beautiful sauna walls cannot compensate for a poor base. Before opening a crate, confirm that the chosen location is accessible for delivery, has adequate clearance around the structure, and offers a stable, level surface. A concrete pad, properly constructed deck, or compacted gravel foundation may be appropriate depending on the sauna’s footprint, weight, local conditions, and manufacturer specifications.
Check level in more than one direction. Even a slight slope can make panel joints difficult to seat, leave a door out of square, and affect how rain sheds from the roof. If the site is on a deck, have its load capacity reviewed before installation. A fully assembled sauna, heater, stones, and occupants create substantially more weight than an empty outdoor furnishing.
This is also the moment to plan privacy, views, drainage, and the walk from house to sauna. A short path with secure footing makes a winter sauna ritual feel inviting rather than inconvenient. For a more considered outdoor retreat, leave room for a cold plunge, resting bench, towel storage, or a sheltered place to cool down between rounds.
Unpack and organize the sauna components
Open packages carefully and inventory every piece before assembly begins. Set panels on clean, dry supports rather than directly on soil or gravel, and protect finished faces from scratches. Natural wood can be marked surprisingly easily by a misplaced fastener or a panel dragged across concrete.
Group the components by stage: floor or base elements, wall panels, door assembly, ceiling panels, roof parts, interior benches, ventilation pieces, and hardware. Locate the manufacturer’s drawings and identify directional labels before lifting anything into place. In a two-person installation, designate one person to reference the plans while the other handles positioning. It reduces unnecessary lifting and prevents a nearly complete wall from needing to come down because one panel was reversed.
Inspect the wood as you go. Small variations in grain, tone, and knots are part of the character of real sauna-grade lumber, not a defect. However, report significant shipping damage, cracks that affect the panel edge, or missing hardware before forcing components together.
How to assemble sauna panels in the right order
Assembly usually begins with the base or floor frame, followed by the rear wall and side walls. From there, the front wall and door frame establish the sauna’s final shape. Panel systems may use tongue-and-groove edges, cam locks, concealed fasteners, or interlocking corner profiles. The essential principle is the same: keep the structure square as it rises.
Build a square, stable base
Lay out the base components according to the plans and connect them without over-tightening hardware at first. Measure diagonally from corner to corner. Matching diagonal measurements indicate that the frame is square. Adjust the base before proceeding, then secure it as specified.
If your sauna includes an insulated floor panel, make sure its finished surface faces the correct direction and that any planned drain openings remain unobstructed. Outdoor sites benefit from thoughtful water management, but do not add a drain or penetrate a panel unless the manufacturer specifically allows it. Unapproved cuts can compromise insulation, weather protection, or warranty coverage.
Raise walls with even pressure
Set the first wall panel in place and brace it if needed. Add adjoining panels one at a time, checking that each joint is fully engaged from top to bottom before moving on. Avoid striking finished wood with a metal hammer. If a panel needs gentle encouragement, use the manufacturer-provided block or a protected wood block and a rubber mallet only where instructions permit.
A joint that will not close is usually a signal to pause. Look for packing material, a misaligned tongue, a slightly uneven base, or a panel installed in the wrong orientation. Forcing it can crush an edge or create a gap that leaks heat and moisture.
As the walls take shape, periodically use a level and recheck the corners. Do not assume the final panel will correct a small error. Minor misalignment at the base becomes much more noticeable at the door and roofline.
Install the door and ceiling with precision
Install the door frame only after adjacent wall panels are seated and the opening is square. The door should swing freely, latch without force, and maintain consistent gaps around its perimeter. A sauna door should never be difficult to open from inside. Follow the model-specific instructions for hinge adjustment, handle placement, and any glass-panel care.
Ceiling panels or roof boards are often easier to install with two people. Seat each one evenly so it rests fully on the wall structure. This is a key thermal boundary: gaps can allow warm, humid air to escape into cavities where it does not belong. Use only the supplied fasteners and place them exactly as directed, especially near visible interior surfaces.
Finish the exterior before adding heat
Once the shell is assembled, install exterior roof layers, flashing, trim, and weather seals in the stated sequence. The details vary considerably between a barrel sauna, cabin sauna, and insulated modular unit, so this is not a place to improvise. Roofing is what protects the investment through sun, rain, and seasonal temperature changes.
If the sauna will sit in strong afternoon sun or exposed weather, ask the manufacturer about appropriate exterior wood protection and maintenance intervals. Interior sauna wood is typically left untreated because coatings can release odors or unwanted compounds when heated. Exterior surfaces are different, but any product used should be approved for the specific wood and finish.
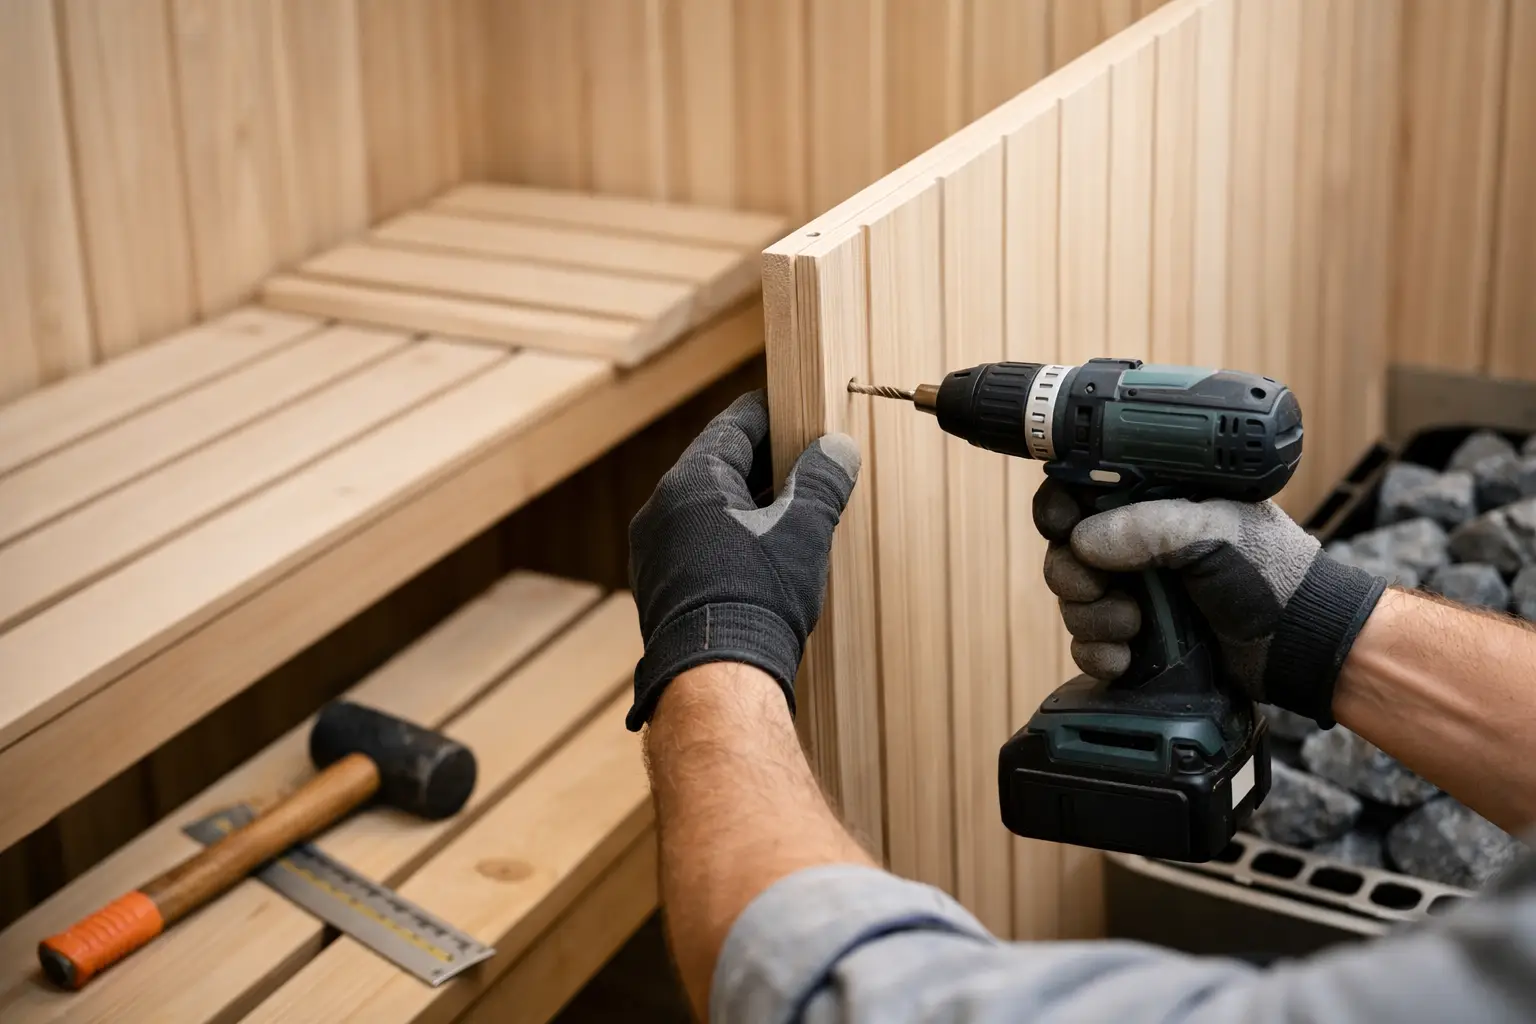
Install benches, backrests, heater guards, and accessories only after the interior is clean and the structure is fully secure. Tighten hardware according to the manual, but do not overdrive screws into softwood. The goal is firm support without stripping the wood fibers.
Treat ventilation and heater installation as essential
A sauna is not simply a warm box. Proper ventilation supports comfortable breathing, more even heat, wood durability, and drying between sessions. Install intake and exhaust vents in their designated locations, and keep them clear once the sauna is in use. Do not relocate vents for aesthetic reasons unless the manufacturer has approved the change.
Heater installation demands particular care. Electric heaters generally require a dedicated circuit, correct wire sizing, grounding, and installation by a qualified electrician in accordance with local code. Outdoor installations may also require permits, GFCI protection, a weather-rated disconnect, or specific clearance rules. Wood-burning heaters introduce separate requirements for hearth protection, chimney routing, roof penetrations, and fire clearances.
Do not test the heater until it has been installed, inspected where required, and loaded with sauna stones exactly as instructed. Never substitute random landscape rock for purpose-made sauna stones. They may crack or retain moisture in ways that are unsafe under high heat.
Give the sauna a thoughtful first heating
Before the first full session, vacuum or wipe down construction dust, confirm that all packaging has been removed, and test the door, vents, lights, and controls. Run an initial heating cycle with the sauna empty and ventilated according to the heater manufacturer’s guidance. This allows materials to settle and clears any new-product odors.
During the first few uses, pay attention to the experience rather than chasing the highest possible temperature. Check for unusual movement, dripping condensation, door binding, or persistent gaps. Wood naturally responds to humidity and temperature, so a small settling adjustment may be normal. A major change, electrical issue, or sign of water intrusion calls for prompt professional review.
A well-assembled sauna should feel quiet and composed: a door that closes gently, benches that feel solid, heat that gathers evenly, and a view outside that invites you to stay a little longer. Build with patience now, and the ritual waiting on the other side will feel effortless for years to come.

